You’re reinstalling Windows—what’s actually at risk (and what isn’t)
You hit “Reset this PC” or boot the Windows installer, and the big fear is obvious: everything on C: is about to get wiped. What usually survives is anything you already keep on another drive. What usually doesn’t is the stuff Windows treats as “your profile” and “app data.”
Installed game folders are often replaceable—either by re-downloading or by pointing a launcher at an existing library. Your progress is less forgiving. Saves, configs, shader caches, screenshots, and mods can live in Documents, AppData, ProgramData, or inside the game folder, depending on the title.
The win comes from backing up two things on purpose: the large install data and the small files that make the game yours. That starts with choosing your goal.
Choose your backup goal: fastest re-download, or launcher-ready restore?
Choosing your goal changes what “done” looks like. If you just want the safest, least fussy path, back up only the small, personal stuff (saves, configs, mods, screenshots). Then you reinstall Windows, reinstall launchers, and re-download games as needed. It takes time and bandwidth, but it avoids the common headache where a launcher refuses to accept a copied install.
If you want a launcher-ready restore, you’re backing up the big install folders too, with the intent to point Steam/Epic/others at them later. This can save hundreds of gigabytes of downloads, but it adds friction: you need enough spare storage to copy libraries, you may have to match the exact folder paths, and some launchers still insist on a “verify” pass that can take a while.
Pick one primary goal per drive. Mixing “some games re-download” with “some games restore” is fine, but only if you label it clearly before you start hunting for files.
Find the files that matter before you touch anything
That “hunting for files” part is where most people lose time, because you don’t notice what’s missing until after the reinstall. Before you copy anything, pick one game you’d be upset to lose progress in, and use it as your map. If you can locate its save and config once, the rest of your backup gets predictable.
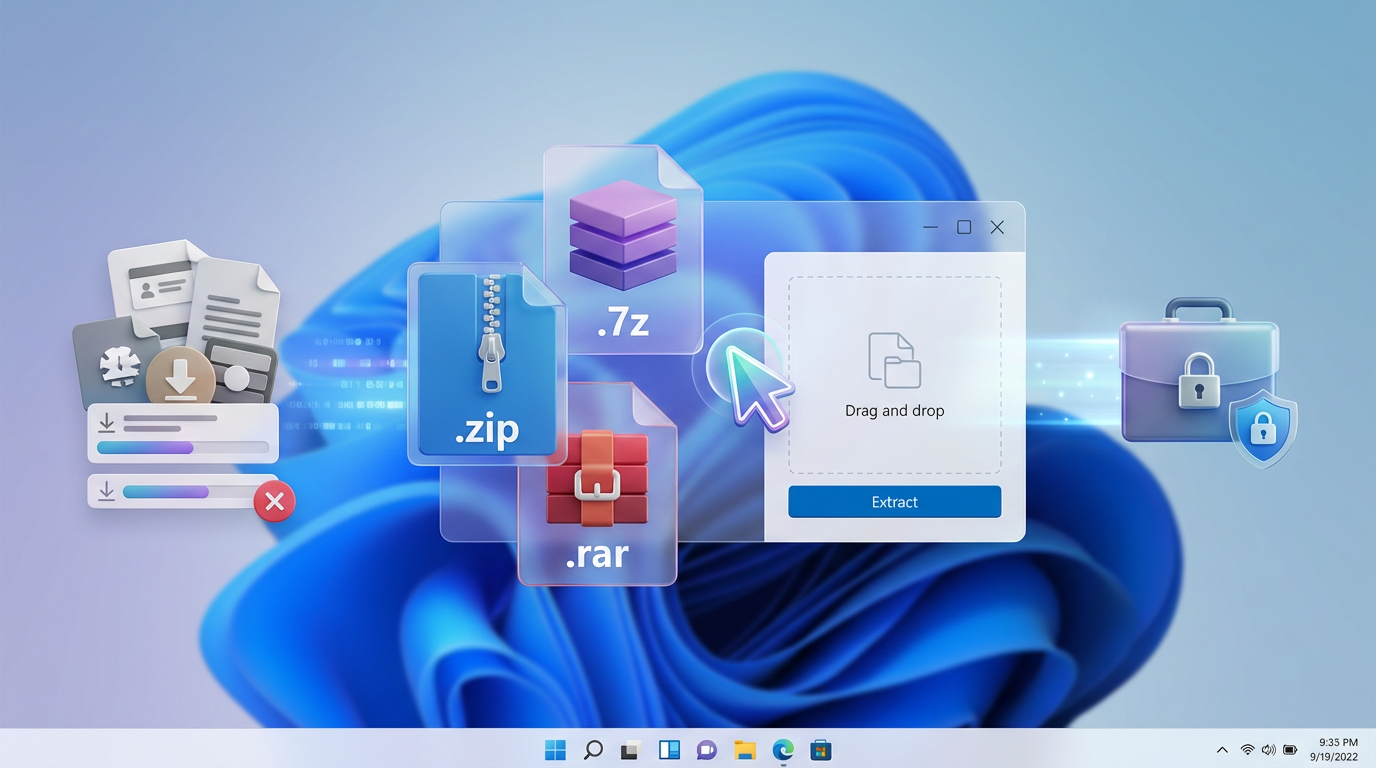
Start with the usual homes for personal data: Documents (often “My Games”), then %AppData% and %LocalAppData% (hit Win+R and paste those), and C:\ProgramData. Many launchers also keep settings here, not in the game folder. If you use mods, check whether your mod manager stores downloads and load orders under AppData, not inside the game.
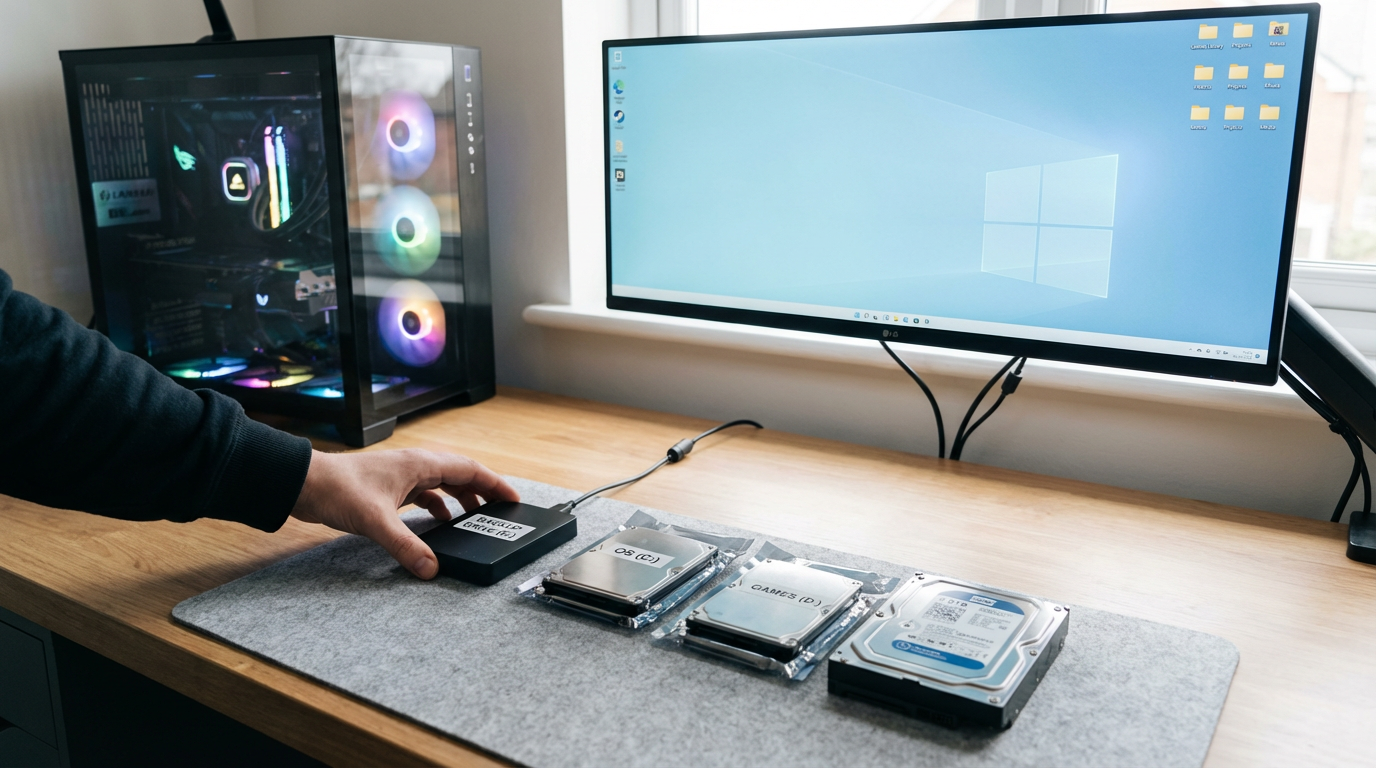
Now check the install side. Steam libraries are often on another drive already, but anything installed under C:\Program Files is at risk. The trade-off: copying whole folders is easy, but missing one tiny “your profile” folder means a clean boot with zero saves. Once you’ve found both for one game, you’re ready to list every target folder before copying.
Backing up installs: which launchers can be convinced, and which ones fight you
That target list is where you decide which launcher gets the “point me at my old files” treatment and which one gets a clean reinstall. Steam is usually the most cooperative: copy the SteamLibrary folders, reinstall Steam, add the same Library folder path, then run a quick Verify on a couple of big games. If you changed drive letters or folder names, Steam may act like nothing is installed until the path matches.
Epic Games Store can work, but it’s pickier. You often need to start a download to the exact same folder, pause it, drop your copied game files in, then resume so it switches to verifying. Battle.net and Riot titles tend to sit somewhere in the middle: they can detect existing installs, but they love to “repair” and re-patch, so plan time for that.
Xbox app / Microsoft Store games are the ones that fight you most. Their installs and permissions don’t copy cleanly, so treat them as re-download-only and focus on saves (cloud where supported, plus any local folders you found). The practical consequence: your biggest bandwidth win usually comes from Steam, not from trying to brute-force every launcher.
The quick checklist that catches 90% of “restore didn’t work” moments
If you copy a library over and a launcher still shows “Install,” it’s usually one of a few boring mismatches. Before you panic, check the basics: the drive letter and folder path match what the launcher expects, the folder isn’t set to read-only, and you didn’t end up with a nested folder like SteamLibrary\SteamLibrary\steamapps. That one happens a lot when you drag the wrong level of folder.
Then verify you backed up the “small stuff” separately. Grab Documents\My Games, %AppData%, %LocalAppData%, and C:\ProgramData for the games and launchers you care about, plus any mod manager profiles/load orders. If your save was cloud-based, still copy local folders—cloud sync can come back empty if the first launch looks like a new PC.
Finally, sanity-check space and permissions. Leave extra free space for verification and patches, and make sure your new Windows user account has full control of the restored folders. If all of that lines up, you’re ready to restore in an order that avoids launchers “claiming” the wrong locations.
Restoring on the new setup: a safe order of operations
That “claiming the wrong locations” problem usually shows up when you install a launcher first, let it create default folders, then try to drop your old library on top. A safer order is: finish Windows, run updates, install chipset/GPU drivers, then set your drive letters and create your final game-library folders before any launcher touches them. If you’re moving from D: to E:, fix that now, not after Steam has indexed an empty path.
Copy your backed-up libraries into place first (SteamLibrary, Epic install folders, etc.), then install the launcher and point it at those exact folders. Let it scan, and expect a verify/repair pass on a couple of big titles before you trust it. Don’t launch games yet.
After the launcher sees the installs, restore the “small stuff” (Documents, AppData, ProgramData, mod-manager profiles) and only then do first launches—offline at first if you’re worried about cloud sync overwriting local saves. Once one game boots with the right progress, you can scale the same routine across the rest.
After the first successful launch: lock in the win and avoid future pain
Once a game boots and your save is there, it’s tempting to call it done and start downloading the next hundred gigabytes. Take five minutes and “freeze” what worked: in Steam/Epic/Battle.net, run a final verify on that one title, then confirm the launcher’s install path and your drive letter won’t change. A later drive-letter shift is a silent break that makes every launcher forget everything.
Now protect the personal stuff for next time. Turn on cloud sync where you trust it, but also schedule a simple backup of Documents, %AppData%, %LocalAppData%, and any mod-manager profile folders. The trade-off is clutter: these folders grow fast with caches and screenshots, so keep a “saves-configs” subfolder or a dated zip so you don’t back up junk forever.
Finally, write down what mattered: library paths, which launchers accepted restores, and any weird exceptions (like one game saving under ProgramData). Future-you will use that note when the next reinstall stops being optional.